What Composting Actually Is
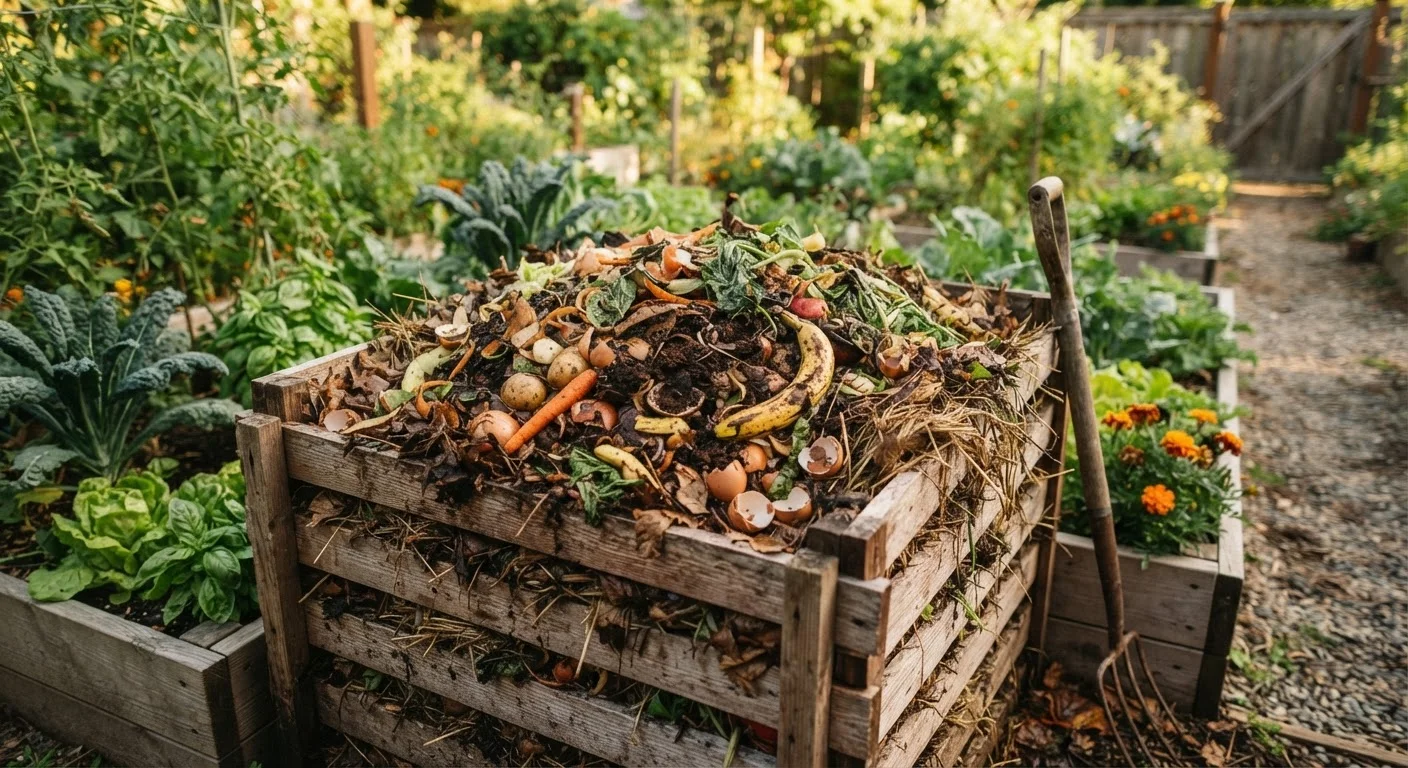
Composting is the process of letting organic material - vegetable peels, grass clippings, cardboard - break down into a dark, crumbly substance called humus (pronounced HYOO-mus). Mixed into garden soil, humus improves drainage, feeds beneficial microbes, and helps plants access nutrients more easily. It's essentially recycled food and yard waste that your garden can put straight back to use.
If you're just getting started with outdoor growing, composting pairs naturally with planning your first planting area. Our beginner's guide to starting a garden covers how to assess your space before you begin adding amendments like compost.
The science is simple: microorganisms - mostly bacteria and fungi - consume organic matter and release heat as a byproduct. That heat accelerates the breakdown. Your job is to give those microorganisms the right conditions: a mix of materials, some moisture, and occasional airflow.
Composting Works Year-Round
Decomposition slows in cold weather but doesn't stop entirely. You can keep adding materials through fall and winter - the pile will simply be more active again come spring. Our seasonal gardening overview explains how to work composting into your year-round garden routine.
What to Add and What to Leave Out
Compost ingredients are usually divided into two categories:
- Greens (nitrogen-rich): vegetable and fruit scraps, coffee grounds, fresh grass clippings, plant trimmings
- Browns (carbon-rich): dried leaves, cardboard torn into small pieces, paper bags, wood chips, straw
A rough balance of greens and browns - by volume, not weight - gives microorganisms the fuel they need. Too many greens and the pile turns slimy and smells; too many browns and it just sits there without doing much.
Keep These Items Out of Your Pile
Meat, fish, dairy, oily cooked foods, and pet waste can attract rodents and create strong odors in a home compost setup. Diseased plant material and invasive weeds that have gone to seed should also be left out, since home piles may not get hot enough to destroy seeds or pathogens reliably. When in doubt, leave it out.
Some common materials that should not go into a home compost pile include meat, fish, bones, dairy products, oily foods, pet waste, and diseased plants. These can attract rodents, create foul odors, or introduce pathogens. Cooked food and heavily processed items are also best left out.
A note on yard products: grass clippings treated with herbicides can persist in compost and potentially affect plants. When in doubt, check with your lawn care provider before adding treated clippings. This is one of the common misconceptions covered in our garden myths article.
How to Set Up and Maintain Your Pile
Before following the steps below, gather the basics:
What you will need
Once you have your materials and a location picked, the process is straightforward. Compost can be made in an open pile, a DIY bin made from pallets or wire mesh, or a purchased tumbler-style container. All approaches work - the differences are mainly about space, pest resistance, and how quickly you want results.
Choose and prepare your composting spot
Pick a level, well-drained spot that gets partial shade. Full sun dries the pile out quickly; full shade slows decomposition. If using a bin, set it directly on bare soil - this allows worms and beneficial insects to enter from below. Keep it reasonably close to the kitchen for convenience, but not directly against the house.
Start with a brown base layer
Add a 4-6 inch layer of brown material at the bottom - dried leaves, torn cardboard, or straw work well. This base layer promotes airflow at the pile's foundation and absorbs excess moisture from greens added on top.
Layer greens and browns as you add material
As you collect kitchen scraps or yard waste, add them in layers rather than dumping everything in at once. Alternate a green layer (2-3 inches) with a brown layer (2-3 inches). Chop or tear materials into smaller pieces where practical - smaller pieces decompose significantly faster than large chunks.
Keep the pile as moist as a wrung-out sponge
Grab a handful of material from the center of the pile and squeeze it. If a few drops of water come out, moisture is about right. If it's bone dry, add water with a watering can or hose. If water streams freely, mix in more dry brown material to absorb the excess.
Turn the pile regularly
Use a garden fork to turn the pile - moving material from the outside toward the center - roughly once every one to two weeks. Turning introduces oxygen, which is essential for the aerobic bacteria that drive decomposition. More frequent turning means faster results; less frequent turning still works, just more slowly.
Harvest and use your finished compost
After several weeks to several months, material at the bottom and center of the pile will look dark, crumbly, and earthy-smelling. Scoop finished compost from the bottom or remove it from a bin's access door. Unfinished material at the top can be pushed aside and used to start the next batch. Finished compost can be mixed into soil at a ratio of roughly one part compost to three parts existing soil, or spread 1-2 inches deep as a surface mulch.
Finished compost is ready when it looks uniformly dark and crumbly, smells like earth rather than food, and you can no longer identify the original ingredients. Incorporate it into planting beds a few weeks before planting, or use it as a top dressing around established plants. If you're deciding between raised beds and in-ground beds, our raised bed comparison guide explains how compost fits into each approach.