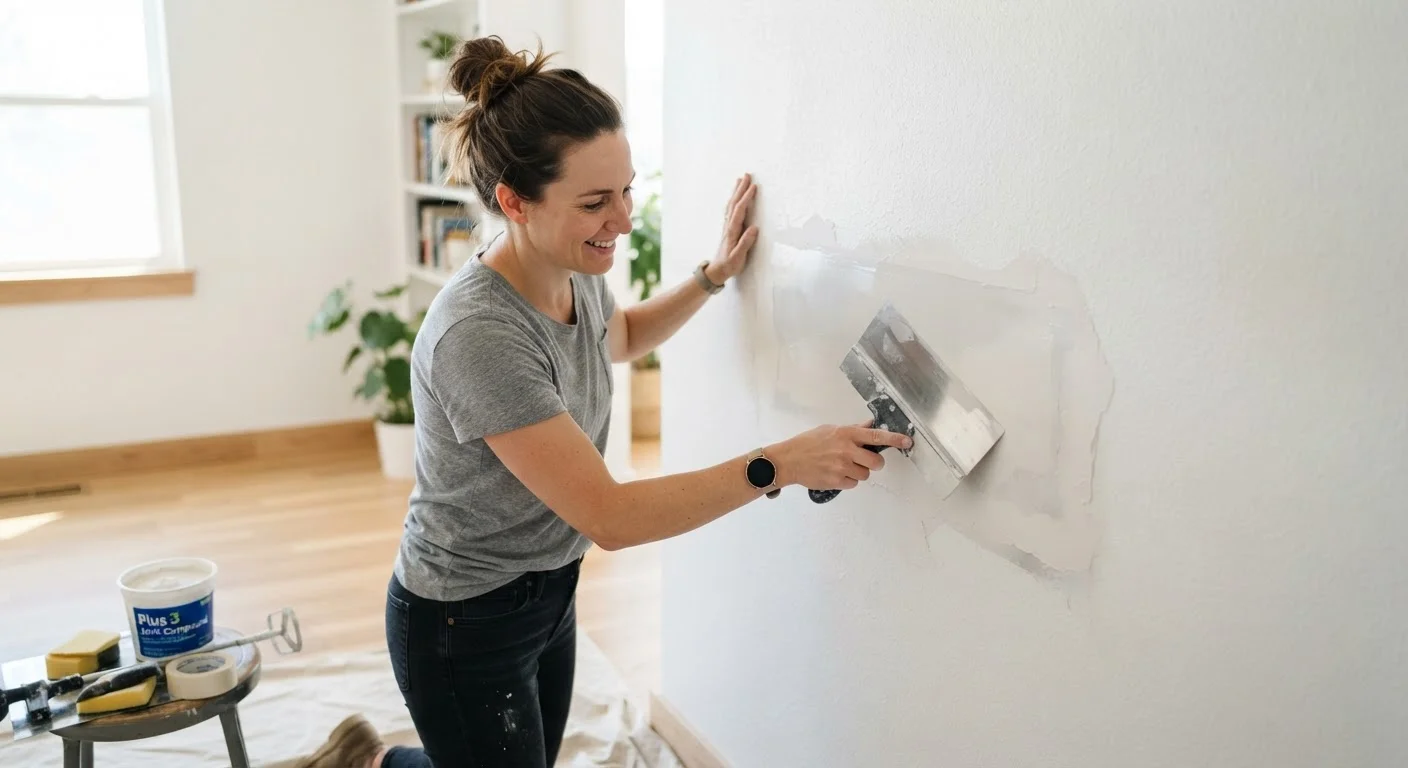
Why Drywall Repairs Are More Manageable Than They Look
Drywall is the most common interior wall material in US homes, and it gets damaged easily - doorknobs punch through it, picture hooks leave gaps, and settling can cause surface cracks. The good news is that drywall repairs are among the most beginner-friendly home improvement tasks. The materials are inexpensive, the techniques are forgiving, and small mistakes can simply be sanded away and recoated.
The single biggest reason patches look amateur is rushing the drying process. Joint compound (sometimes called mud) shrinks as it dries, which means skipping coats or painting too soon leads to visible depressions. Patience between steps is the skill that separates a seamless result from one that catches light and draws the eye.
Before you pick up a putty knife, make sure the damage is truly just physical. Brown staining, softness, or a musty odor around the hole can indicate an underlying leak that will destroy any patch you apply. Review our article on identifying water damage early if anything looks suspect.
Water-Damaged Drywall Is a Different Problem
If the hole or soft spot you're patching shows brown staining, a musty smell, or crumbling edges, do not simply patch over it. These are signs of moisture damage - the underlying cause must be fixed first. See our article on spotting water damage early before proceeding.
Tools and Materials You'll Need
The supplies required depend on the size of your repair, but a basic drywall kit costs relatively little and most items are reusable for future touch-ups. Gather everything before you start so you're not mid-repair and hunting for sandpaper.
Putty knife or drywall knife (3-6 inch)
Applies and smooths spackle or joint compound over the repair area.
Spackle or lightweight joint compound
Fills and levels the damaged area flush with the surrounding wall surface.
Self-adhesive mesh patch
Bridges medium-sized holes (1-4 inches) and provides a surface for compound to bond to.
Drywall backer board or furring strips
Creates internal support so new drywall can be screwed into place for large holes.
Drywall screws and screw gun
Secures replacement drywall or backer boards firmly inside the wall cavity.
Sandpaper (120 and 220 grit)
Smooths dried compound between coats and prepares the surface for paint.
Primer
Seals the repair before painting to prevent a dull or uneven sheen on the finished wall.
Stud finder and non-contact voltage tester
Locates structural and electrical elements inside the wall before cutting.
What you will need
Step-by-Step Repair Instructions
Work through each step in order. Skipping ahead - especially around drying time - is the most common reason repairs need to be redone.
Check Inside the Wall Before Cutting
Before enlarging any hole or cutting new drywall, read our guide on what's inside your walls to locate studs, electrical wiring, and plumbing. Cutting blindly into a wall risks serious injury and costly damage. Use a stud finder and a non-contact voltage tester before any saw touches drywall.
Assess the damage and choose your method
Measure the hole or damaged area. This determines which repair approach you'll use:
- Nail holes and dents (under ½ inch): Spackle only - no patch needed.
- Small holes (½ inch to 4 inches): Self-adhesive mesh patch plus joint compound.
- Large holes (4 inches to fist-sized): Cut-out and replace with a drywall piece backed by furring strips or backer boards.
Also inspect the edges of the damage. Soft, crumbly, or stained drywall suggests moisture - address the source before patching.
Prepare the surface
Remove any loose paper, crumbled gypsum, or sharp edges around the damage. For larger holes, use a utility knife to cut back to clean, solid drywall edges. The cleaner and firmer the edges, the better your patch will bond and blend. Wipe away dust with a damp cloth and let it dry fully.
Fill nail holes and small dents
For holes under ½ inch, scoop a small amount of lightweight spackle onto your putty knife and press it firmly into the hole. Draw the knife across the surface at a shallow angle to leave the compound just slightly proud of the wall. Let it dry completely - typically 1-2 hours for small fills - then sand flush with 220-grit sandpaper. A second thin coat is often needed since spackle shrinks slightly as it dries.
Apply a mesh patch for medium holes
Center a self-adhesive mesh patch over the cleaned hole and press it firmly to the wall. The mesh gives joint compound something to grip. Apply the first coat of all-purpose joint compound with a 6-inch knife, spreading it across the mesh and feathering the edges outward several inches in all directions. Let it dry fully - usually overnight - then sand lightly with 120-grit. Apply a second thin coat with a wider knife (8-10 inches), extending the feathered edges even further. Sand again after drying. A third light skim coat is often needed to achieve a truly smooth, invisible result.
Replace a large section of drywall
Mark a clean rectangle around the damaged area using a pencil and straightedge. Use a utility knife or drywall saw to cut along the lines - move slowly and check for wires before each cut. Insert furring strips or a backer board horizontally inside the cavity at the top and bottom of the opening, securing them to the surrounding drywall with screws so they extend behind the edges. Cut a replacement piece of drywall to fit the opening precisely, screw it to the backers, then apply joint compound and tape over all seams following the same feathering process used for medium holes.
Sand, prime, and paint
Once your final compound coat is fully dry, sand the area smooth with 220-grit paper. Run your hand across the surface - it should feel level and continuous with the surrounding wall. Wipe away all sanding dust with a lightly damp cloth. Apply a coat of drywall primer and let it dry. Priming is not optional: unprimed compound absorbs paint unevenly and shows as a flat, dull spot. Once primed, paint to match the wall. For tips on painting interior walls to a clean finish, see our guide on painting interior walls without common frustrations.
Texture Matching Takes Practice
If your walls have a textured finish - orange peel, knockdown, or skip trowel - try recreating it on a scrap piece of drywall before touching the wall. Aerosol texture sprays and a slightly dampened sponge can both approximate common textures. When in doubt, a light skip-trowel finish applied with a damp sponge hides a lot.