Why Fluid Checks Matter More Than Most Drivers Realize
A car's fluids do the quiet, essential work that keeps every major system running: they lubricate moving parts, transfer heat away from the engine, and transmit the force that brings your vehicle to a stop. When fluid levels drop or degrade, the components they protect are exposed to friction, heat, and pressure they were never designed to handle alone.
The good news is that monitoring these fluids is genuinely straightforward. You don't need a lift, a mechanic's knowledge, or specialized tools. As the habits that quietly shorten a car's lifespan shows, skipping fluid checks is one of the most common - and avoidable - ways owners accidentally add up repair costs over time.
Before you get started, gather the items listed below and make sure your vehicle is parked safely.
What you will need
Clean rag or paper towels
Used to wipe dipsticks clean before taking an accurate fluid reading.
Vehicle owner's manual
Identifies the location of each fluid reservoir and the correct fluid specifications for your make and model.
Flashlight or phone torch
Helps you see fluid level markings inside dark reservoirs and spot any discoloration.
Disposable gloves
Protects your hands from brake fluid and coolant, which can irritate skin.
How to Check Each Fluid - Step by Step
Work through these checks in order. Each one takes roughly 60-90 seconds once you know where to look, putting the full routine comfortably under 10 minutes. Keep your owner's manual close - reservoir locations and fluid specifications vary by make and model.
Never Open a Hot Coolant Cap
Opening the radiator cap or the coolant reservoir cap while the engine is warm can cause pressurized steam and boiling coolant to spray out, causing serious burns. Always wait until the engine is fully cool - typically at least 30-45 minutes after driving - before inspecting or topping up coolant.
Park safely and prepare the engine bay
Pull onto a flat, level surface - a sloped driveway will give you misleading fluid readings. Switch off the engine and, if the car has been running, wait at least 15 minutes before opening the hood. This lets pressurized systems depressurize and hot surfaces cool. Pop the hood using the interior release lever, then lift it fully and secure it with the hood prop rod if your vehicle has one.
Check the engine oil
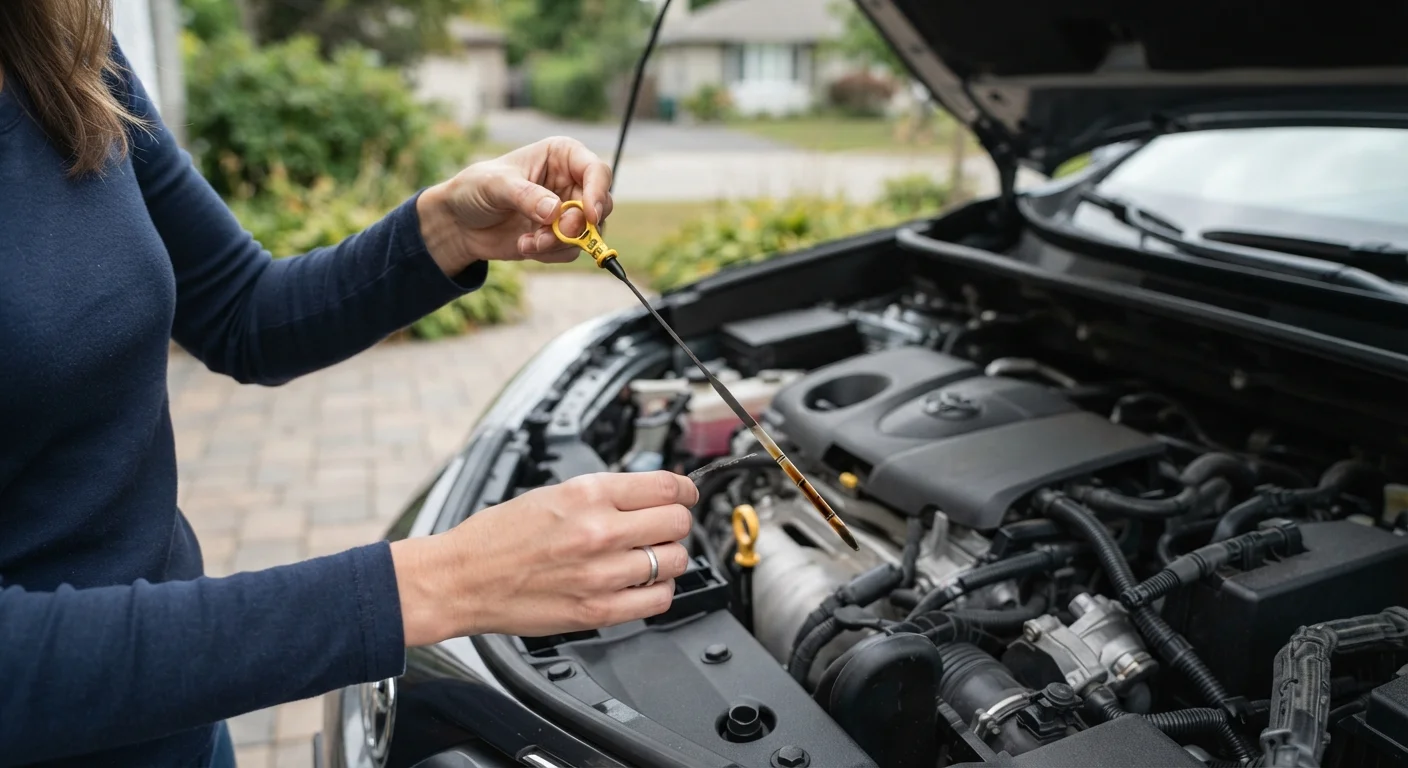
Locate the oil dipstick - usually a brightly colored loop or handle near the engine center. Pull it out, wipe it completely clean with your rag, reinsert it fully, then pull it out again. Observe the oil level: it should sit between the MIN and MAX markers. Also look at the oil's color - fresh oil is amber, while very dark or gritty oil suggests it's due for a change.
Inspect the coolant (antifreeze) level
Look for the translucent plastic coolant reservoir - it's usually connected to the radiator by a hose and has MIN/MAX lines you can read without opening it. The fluid inside should be bright green, orange, or pink depending on the type your vehicle uses. Do not open the radiator cap on a warm engine; the system is pressurized and can release scalding coolant.
Check the brake fluid
The brake fluid reservoir is a small, translucent plastic container near the back of the engine bay on the driver's side, atop the brake master cylinder. Without opening it, read the level against the MIN and MAX markings on the side. Brake fluid should be pale yellow and clear; dark brown fluid indicates it has absorbed moisture and likely needs replacing by a professional.
Check the power steering fluid (if applicable)
Many newer vehicles use electric power steering and have no fluid reservoir - your owner's manual will confirm which type you have. On vehicles with hydraulic power steering, the reservoir is typically a small capped container near the front of the engine bay. Some have a dipstick in the cap; others have MIN/MAX markings on a translucent body. The fluid should be pinkish-red or clear, and should not smell burnt.
Check the windshield washer fluid
The windshield washer reservoir is the easiest to find - look for a cap marked with a windshield and water symbol, usually blue. Unlike other fluids, running low here won't damage your vehicle, but reduced visibility is a genuine safety risk. Top it up with premixed washer fluid. Do not use plain water, which can freeze in cold weather and doesn't clean as effectively as purpose-made fluid.
Low Fluid Levels That Recur Need Professional Attention
If you find yourself topping up the same fluid repeatedly, there's likely an underlying problem - a leak, worn seals, or a mechanical issue. Masking a recurring low level by simply adding fluid is not a fix. Take the vehicle to a qualified mechanic for a proper diagnosis before the situation escalates.
What to Do After Your Checks
Once you've worked through all six fluids, close the hood firmly until it latches. If everything looked normal - levels within range, fluids the right color and consistency - you're done. Make a quick note of the date so you can track how levels change over time.
If you found a fluid that was low, top it up with the exact type specified in your owner's manual. Using the wrong fluid - for example, mixing coolant types or adding the wrong weight of oil - can cause more harm than running slightly low. When in doubt, ask a qualified mechanic rather than guess.
Build a 10-Minute Monthly Habit
Scheduling a fluid check on the same day each month - say, the first Saturday - makes it easy to remember and means you'll catch changes early. Pairing it with your pre-drive safety check routine means you'll always have a full picture of your vehicle's condition.
Fluid checks fit naturally into a broader seasonal routine. Our guide on seasonal car maintenance outlines what else to inspect as temperatures and road conditions change through the year. And if you've recently bought a vehicle or are considering one, it's worth knowing that common maintenance myths can lead new drivers to check the wrong things - or skip the right ones entirely.