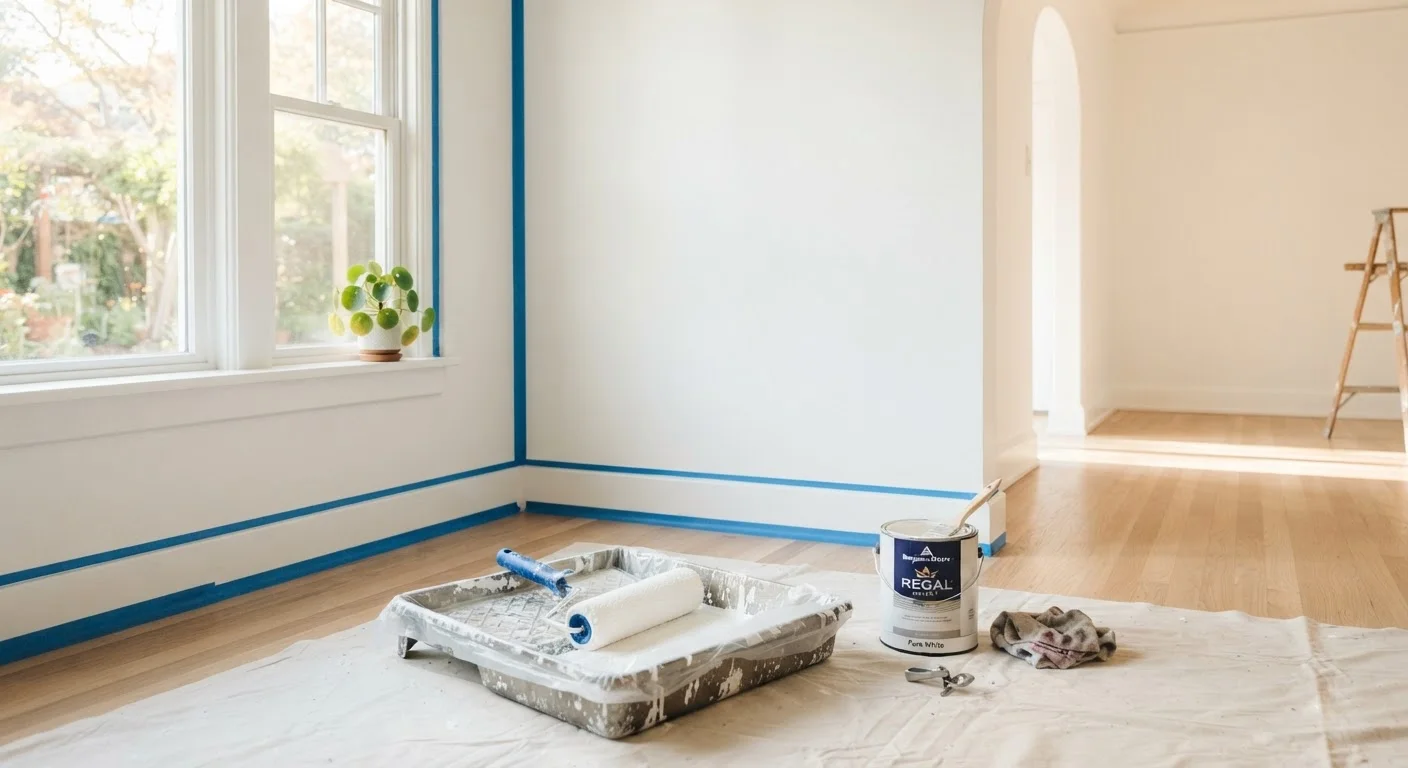
Why Most Beginner Paint Jobs Go Wrong
Most first-time painters focus almost entirely on color selection and almost not at all on preparation - and that's where things unravel. Skipping wall prep leads to paint that won't adhere properly, showing every old scuff, crack, and stain through the finished coat. Before you open a single can, it's worth understanding the full process so you don't create more work for yourself.
If your walls have any existing damage, address those first. Our guide on patching drywall holes of all sizes walks you through repairs before paint goes on. And if you're tackling a fresh-move situation and want a broader picture of what to prioritize, what every first-time homeowner should know about home improvement is a helpful starting point.
The sections and steps below follow the sequence that professional painters use - and each one exists for a practical reason.
What you will need
Tools and Materials You'll Need
Resist the urge to grab whatever is cheapest. A low-quality roller cover leaves lint embedded in the paint surface, and a flimsy brush makes cutting in frustratingly imprecise. You don't need professional-grade equipment, but mid-range tools pay for themselves in time saved and finish quality.
Angled (sash) paintbrush - 2 to 2.5 inches
Used to cut in paint along edges, corners, trim, and ceiling lines where a roller cannot reach.
9-inch paint roller frame and cover (3/8-inch nap for smooth walls)
Applies paint quickly and evenly across large flat wall surfaces.
Paint roller tray
Holds paint and lets you load and distribute paint evenly on the roller cover.
Painter's tape (1.5-inch or 2-inch)
Protects trim, ceilings, and outlet covers from accidental paint application.
Drop cloths (canvas or heavy plastic)
Protects floors and furniture from drips and spills during painting.
Primer
Seals patched areas and bare drywall so the topcoat adheres uniformly and doesn't flash.
Sandpaper (120-grit)
Smooths patched areas and lightly scuffs glossy surfaces so paint bonds properly.
Extension pole for roller
Attaches to the roller frame to reach upper wall sections and reduce ladder use.
Clean and inspect the walls
Wipe down all wall surfaces with a damp cloth or a solution of mild dish soap and water. Pay particular attention to kitchen walls, which collect grease, and high-touch areas around light switches. Paint does not bond well to oily or dusty surfaces. Once clean, look closely for cracks, nail holes, and dents - mark them with painter's tape so you don't miss any during patching.
Patch any holes or cracks
Fill small nail holes with lightweight spackling compound using a putty knife. For larger holes, use a setting-type joint compound or a drywall patch kit. Let filler dry completely according to the product label, then sand smooth with 120-grit sandpaper until flush with the surrounding wall. Wipe away dust with a damp cloth before moving on.
Apply primer to patched areas and bare surfaces
Apply a coat of primer over every patched spot, any area of bare drywall, and any surface you're painting a significantly different color (for example, going from a deep red to a light gray). Use your angled brush for small patches and a mini roller for larger primed areas. Allow primer to dry fully - typically one to two hours for water-based primer - before proceeding.
Tape off trim, ceiling edges, and outlets
Press painter's tape firmly along the top of baseboards, around window and door trim, and at the ceiling line if you prefer a guide over freehand cutting in. Press the tape edge down completely using a putty knife or your fingernail - loose edges allow paint to bleed underneath. Remove outlet and switch covers and store their screws safely; tape over any exposed electrical openings.
Cut in along edges with a brush
Load your angled brush by dipping roughly one-third of the bristle length into paint, then tap (don't wipe) gently on the can interior to remove excess. Paint a band approximately two to three inches wide along all ceiling lines, corners, and trim edges. Use smooth, controlled strokes parallel to the edge. This cut-in band is what your roller will meet - so accuracy here defines the overall finish.
Roll the main wall surface
Pour paint into the tray and load the roller by rolling it back and forth on the tray's ridged ramp until it's evenly coated but not dripping. Start near the top of the wall and work in a wide W or M pattern, then fill in the unpainted gaps without lifting the roller. Maintain a wet edge by working in sections and overlapping into the still-wet area of the previous section. Keep roller pressure light and consistent.
Allow to dry, then apply the second coat
Most latex interior paints require at least two to four hours before recoating - check your specific product label. The first coat may look uneven or streaky; this is normal and expected. Once the first coat is dry to the touch and within the recoat window, repeat the cut-in and rolling process. The second coat fills in any thin spots and produces the even, finished look you're after.
Common Pitfalls and How to Avoid Them
Even with good technique, a few recurring mistakes trip up beginners. Overloading the roller with paint causes drips and uneven texture - always roll off excess on the tray's ridged surface before applying to the wall. Pressing too hard creates streaks and removes paint you've already laid down.
Skipping primer on patched spots or bare drywall is another frequent misstep. Those areas absorb paint at a different rate and will appear as dull patches - called flashing - in the finished coat, even under multiple layers of paint.
Older Homes and Lead Paint Risk
Homes built before 1978 may contain lead-based paint on walls and trim. Sanding or disturbing lead paint creates hazardous dust. If your home was built before 1978 and you're unsure of the paint history, use a lead test kit (available at most hardware stores) before sanding any surface. If lead is present, consult a certified lead abatement professional rather than proceeding on your own.
Finally, don't rush the recoat window. Most latex paints feel dry to the touch within an hour but aren't ready for a second coat for at least two to four hours. Check the manufacturer's label for the specific product you're using.
For broader context on keeping your newly painted rooms organized and functional once the work is done, see our guide on home organization for new homeowners.
Keep a Damp Cloth Nearby at All Times
Fresh latex paint wipes off most surfaces easily with a damp cloth. Keep one handy throughout the job so you can address drips on trim or floors immediately - before they dry and become much harder to remove. This single habit prevents most of the tedious touch-up work that comes after a paint job.