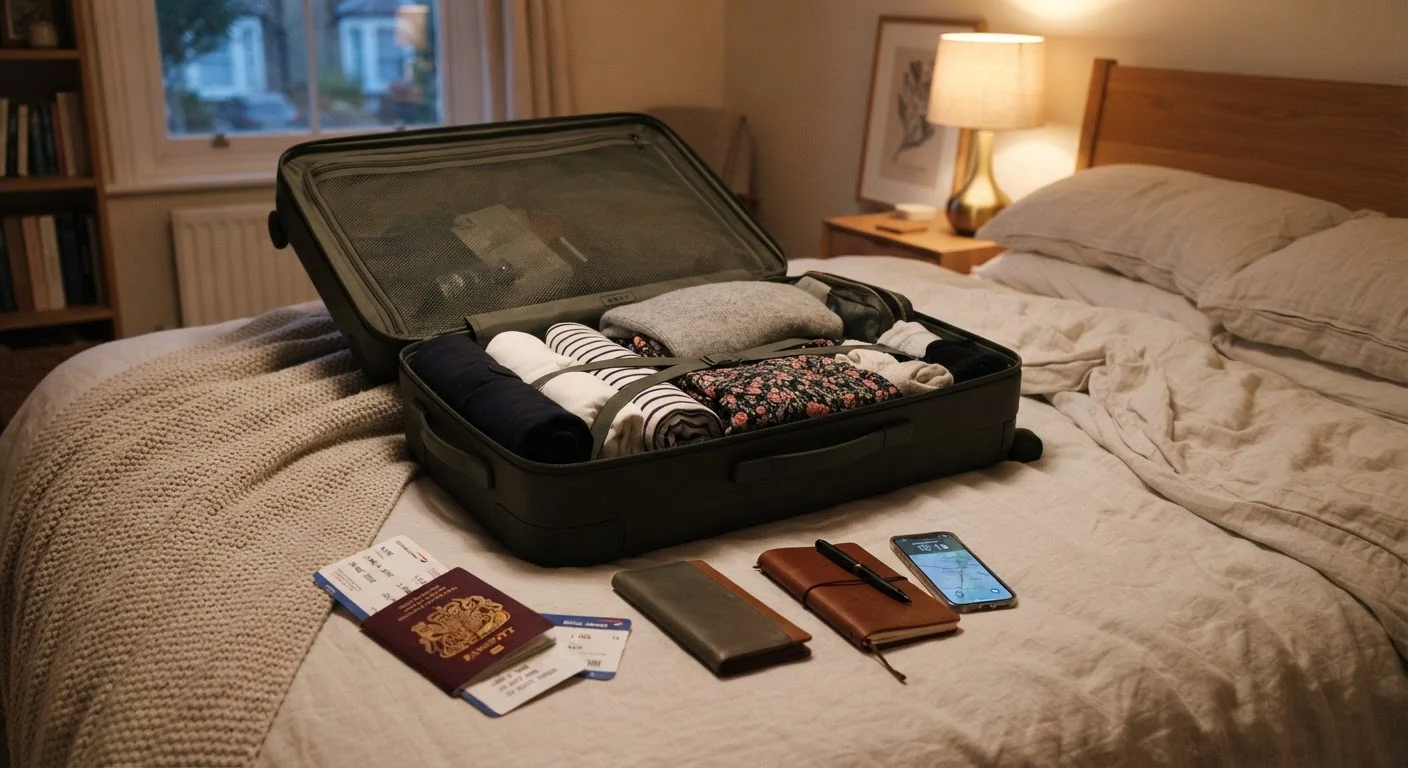
Why the Night Before Matters More Than the Morning
Most travel mistakes - forgotten chargers, missed gates, wrong terminal - happen because decisions get pushed to the last possible moment. The morning of a flight is the worst time to make those decisions. Your mind is groggy, the clock is running, and every small problem feels larger than it is.
Shifting the bulk of your preparation to the evening before gives you time to think clearly, double-check calmly, and sleep knowing everything is in order. If you haven't yet built a full trip plan, the first-timer's trip planning roadmap is a good place to start before this routine applies. For a broader checklist that covers documents, money, and insurance alongside packing, see the pre-departure checklist.
This routine is designed for the 12-24 hours before wheels-up, and it works whether you're taking a domestic weekend trip or an international flight.
What you will need
Your Step-by-Step Pre-Departure Routine
Work through these steps in order during the evening before your flight. Each one takes only minutes on its own - together, they give you a complete, confident departure.
Confirm your boarding pass and travel documents
Open your airline app or email and locate your boarding pass. Download it to your phone's wallet app and take a screenshot as a backup in case connectivity fails at the airport. If you prefer paper, print it now - don't rely on finding a printer in the morning.
Gather your passport, ID, visa documentation, and insurance papers into a single folder or document pouch. Check that your passport is valid for the full duration of your trip; many countries require six months of remaining validity beyond your travel dates. Verify entry requirements with your destination country's official government website, as rules change.
Finalise and weigh your bag
Lay out everything you plan to pack and compare it against your original packing list. Remove anything that wasn't on the list unless there's a clear reason to add it. Place your items in the bag, then weigh it using a luggage scale or bathroom scale. Check your airline's baggage allowance - both weight limit and size restrictions - and adjust now while adjusting is easy.
Pack heavier items at the bottom of the bag (closest to your back for a backpack, nearest the wheels for a rolling case) and fragile items in the middle surrounded by soft clothing.
Charge all devices and organise cables
Plug in your phone, laptop, portable battery pack (power bank), earbuds, and any other electronics you're travelling with. Aim for a full charge on everything. Pack your charging cables and any travel adapters you'll need at the destination into a small pouch so they're easy to find at security.
Note: power banks must travel in carry-on luggage, not checked baggage. Confirm the watt-hour rating of your power bank against your airline's current policy.
Prepare your carry-on essentials pouch
Separate the items you'll need during the flight or immediately on arrival: phone, earbuds, any medication you'll need access to mid-flight, snacks, a reusable water bottle (empty for security), and a light layer such as a cardigan or travel scarf. Pack these into your personal item or the top compartment of your carry-on so they're accessible without unpacking everything.
If you take regular medication, confirm you have enough supply for the full trip plus a few extra days in case of delays. Carry a copy of any prescription in your document folder.
Secure your home and set your alarms
Do a final walk-through of your home: lock windows, turn off unnecessary appliances, set heating or cooling to an appropriate standby level, and ensure any timers or security measures are activated. Leave a key with a trusted neighbour if needed.
Send your itinerary - flight number, accommodation name and address, and a rough schedule - to at least one person who will be reachable at home. Then set two alarms: your intended wake-up time, and a backup ten minutes later. Calculate your departure time from home by working backwards from your airline's recommended check-in window, adding realistic travel time to the airport.
Lay out tomorrow's travel outfit and get to bed
Choose comfortable, layered clothing you can move easily in and that won't cause problems at security (minimal metal, slip-on shoes if possible). Set it out with your shoes, bag, and document pouch so your morning routine is purely mechanical - no decisions required.
Then go to sleep at a reasonable hour. Fatigue is a genuine travel risk: it affects your ability to navigate, read signs, and respond calmly to unexpected changes. A solid rest is as much a part of your pre-departure routine as anything else on this list.
Keep a Running Travel Checklist Year-Round
Many experienced travellers maintain a master packing list saved on their phone that they refine after every trip. When you notice something you forgot or didn't need, update the list immediately. By the time your next trip arrives, your checklist is already personalised and ready to use - no rebuilding from scratch each time.
Common Mistakes to Avoid on Departure Night
Even well-prepared travellers fall into a few recurring traps. Overpacking at the last minute is the most common: resist the urge to add items you didn't originally plan for. If your bag was already at the weight limit, adding more creates a problem you'll face at the check-in counter, not at home. Developing smart packing habits over time will make this step easier on future trips.
Another frequent error is failing to tell anyone where you're going. Before you sleep, share your itinerary - flight number, accommodation name, and a rough schedule - with at least one person at home. This is a basic safety step covered in detail in the travel safety preparation checklist.
Don't Pack Important Items in Checked Luggage
Checked bags can be delayed, misdirected, or temporarily lost. Medication, travel documents, valuables, and any item you cannot replace at the destination should always travel in your carry-on. This is a simple rule that prevents a significant category of travel emergencies.
Finally, don't rely on getting a full eight hours and still leaving late. Set two alarms - a primary and a backup - and factor in extra time for traffic, parking, or public transit delays. Airports consistently recommend arriving earlier than feels necessary, especially for international departures.
For a complete reference covering everything from luggage selection to these final-night checks, the first-time traveller's complete packing and prep guide is worth bookmarking well before your departure date.