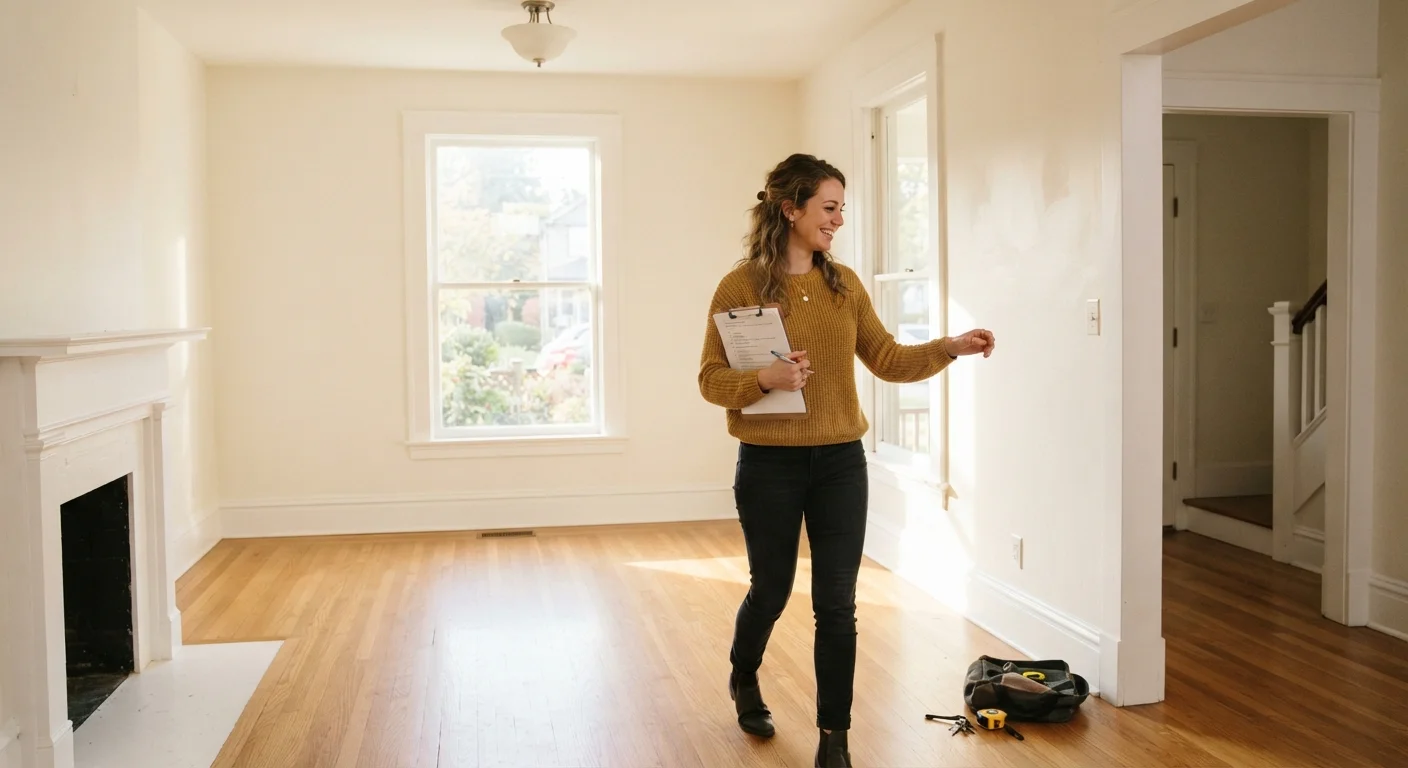
Why a Move-In Inspection Is Worth Your Time
The excitement of moving into a new home makes it tempting to skip straight to unpacking. But the first few days - before furniture fills every corner and rugs cover the floors - are the best opportunity you'll have to see the home clearly. Problems that are easy to spot in an empty room become nearly invisible once you've settled in.
A move-in inspection is not the same as the pre-purchase inspection your home may have received. That assessment was a snapshot in time. What you're doing now is establishing your baseline: confirming what's working, identifying what needs attention, and creating a paper trail that documents the home's condition the day you took ownership.
This checklist is designed for first-time homeowners who may not know exactly what to look for. Work through it room by room, use the tools listed below, and note every finding - even things that seem minor. For the long term, pair this inspection with a year-round maintenance schedule so small issues never grow into expensive surprises.
Outlet tester
Plugs into each outlet to confirm it is live, correctly wired, and properly grounded.
Flashlight or headlamp
Illuminates dark corners, crawl spaces, and cabinet interiors where problems often hide.
Notepad or inspection app
Records defects, locations, and follow-up tasks as you move through each room.
Smartphone camera
Documents damage and defects with dated photos for your records.
Ladder (step or extension)
Provides safe access to check gutters, attic hatches, or high ceiling areas.
Moisture meter
Detects elevated moisture levels inside walls and flooring that are invisible to the eye.
How to Work Through This Checklist
Start with the safety systems - these are non-negotiable and should be confirmed the day you get your keys. Then move methodically through water and plumbing, electrical, structure, and finally the exterior. Trying to do everything at once is overwhelming; treating each group as its own short task makes the process manageable.
Document Everything Before You Unpack
Walk through the entire home and photograph every defect, stain, crack, or damage you find before a single box is moved in. Date-stamp your photos. This protects you if a dispute arises with a seller, landlord, or insurance provider about whether damage was pre-existing.
As you go, flag items in three categories: things to fix immediately, things to monitor, and things to mention to a professional. Not every issue demands urgent action, but every issue deserves to be recorded. If you find concerns about water damage inside walls or under floors, our guide on how small leaks become big problems explains what to watch for and when to call a plumber.
Before hanging anything or planning modifications, it's also worth understanding what runs inside your walls - electrical cables, plumbing, and insulation are all easy to damage if you drill blind.
Never Ignore Electrical Warning Signs
Warm outlets, discolored switch plates, a burning smell, or a breaker that trips repeatedly are not minor inconveniences - they are potential fire hazards. Do not attempt to diagnose or repair these issues yourself. Contact a licensed electrician before using those circuits.
Roof and Structural Work Requires Professionals
Assessing roof condition, foundation cracks, or suspected load-bearing walls from the inside is beyond a basic move-in inspection. If you spot anything that concerns you in these areas, engage a qualified home inspector or licensed contractor before assuming the issue is minor.
Safety Systems
Water & Plumbing
Electrical & Outlets
Structure, Walls & Ceilings
Exterior & Systems
After the Inspection: What Comes Next
Once you've completed the walkthrough, sort your findings by urgency. Safety hazards - faulty wiring, non-functioning smoke detectors, gas odors - come first and may require calling a licensed professional before anything else. Water issues are the next priority, since moisture damage compounds quickly and quietly. Everything else can be scheduled around your move-in timeline.
Keep your inspection notes and photos somewhere accessible. If you're renting, share documented findings with your landlord in writing within the timeframe specified in your lease. If you own, file everything in a home folder you can reference for insurance claims, permit applications, or future renovations. Note that certain modifications - especially anything structural or involving electrical panels - may require building permits and inspections under local codes.
Once the practical checks are done, you're ready to start thinking about organization and making the space your own. Our home organization guide for new homeowners is a good next step, and the room-by-room organization checklist will help you set up each space before clutter takes hold. Building a financial safety net alongside your home maintenance habits is also worth considering - unexpected home repairs have a way of arriving without warning.